Take your telematics service to market under your own brand
Start with Navixy's working web and mobile applications, then apply your own brand — logos, a custom domain, and email and SMS notifications. Enter the market under your own name without building a customer application from scratch.
Navixy Admin Panel
Setup → customer interface
How a working platform becomes your service
Navixy provides the platform software and working web and mobile applications. You add the brand, the offer, and the customer service, then bring the finished solution to your market.
- Documented settings cover logos, the login background, favicon, and preset themes for both the web interface and the mobile app. Brand controls
- A custom domain for the web interface connects through a documented CNAME setup. Domain
- Email/SMTP and SMS gateways follow documented setup paths; the exact configuration depends on your provider and sender. EmailSMS
- You define the positioning, onboard customers, and run the service in your market — from first-line support to escalating complex cases.
Service architecture
Where customers see your brand
The Admin Panel brings together branding, domain, and notification settings, each linked directly to its documentation.
See how branding works in the Admin Panel
A short walkthrough follows the path from brand settings to the customer-facing interface, with a transcript and documentation links below. Documentation
This English-language Admin Panel walkthrough was published on 15 December 2025. Current branding, domain, and notification-gateway capabilities are documented through the links below the video. Maps, regional settings, menu presets, two-factor authentication (2FA), plans, billing, and Stripe appear only as context for the walkthrough, not as evidence of general availability for your account.
English video transcript
Today, let's explore how you can easily brand and customize the Navixy platform using options available in the Navixy Admin Panel. Log in at panel.navixy.com. Your login is your Navixy instance ID, a five-digit number found in the Navixy portal and sent to your email, and your password is the one that you set during instance creation. Navixy allows you to customize the platform to match your brand. Here is how you can easily personalize the experience for your users. Login page customization: add your logo, contact details, and links to essential pages like your website, privacy policy, and terms of use. Update these settings on the Account Management branding page in the Admin Panel. Add your service name or company name in the service title field. For example, GPS tracking. Add links to your company website, privacy policy, and terms of use. Add your logos for the interface, documents, notifications, and mobile app. Customize your domain. You can also customize the platform domain that users access. Go to Admin Panel, Account Management, Service Preferences, Domains and URLs, and change the domain name, or use the domain generated automatically. Do not forget to set up a new CNAME, or canonical name, record on your DNS server that points to the Navixy server. More details are available through the linked documentation. Now your Navixy login page for users is customized with your custom domain, company logo, and link to your promotional website. What else can you customize? Color themes. Choose from pre-designed color palettes for the web UI and X-GPS mobile apps to match your brand identity. Go to Admin Panel, Account Management, UI Themes to select, preview, and apply a theme. Maps: choose which maps to enable for your service platform. You can also restrict specific users from accessing certain maps by configuring the map options in their plans. Regional settings: the Navixy platform is used worldwide and supports customization such as local currencies and measurement units. Go to Service Preferences, Regional Settings, and customize the language and currency in User Defaults. In regional settings you can set the time zone, date format, time format, and measurement system. Menu editor: create menu presets for different users. The menu editor in the Navixy Admin Panel lets administrators control which features users see for a consistent and organized experience. You can reorder, rename, and group menu items and apply custom templates to specific users. To create a menu preset, go to Admin Panel, Account Management, Menu Editor and use the visual editor to drag, drop, or rename items in real time. Set a default template for all users or assign custom ones as needed. Refer to the developer portal for API instructions. Two-factor authentication: in Account Management, you can enable or disable the two-factor authentication option. Messaging gateways: in Account Management, you can configure email and SMS gateways. These gateways help GPS and telematics service providers send alerts and notifications and interact with IoT devices. You can use your own SMS and email gateways to tailor the customer experience. Contact the support team for help with integration plans. Plans: view, edit, or create plans for Navixy users. These plans let you offer different packages to customers. The video also describes Stripe integration for using a payment gateway and automating the payment process for customers. Now you know how the Admin Panel can enhance platform customization. Stay tuned for more videos and subscribe to Navixy's social channels for more insights.
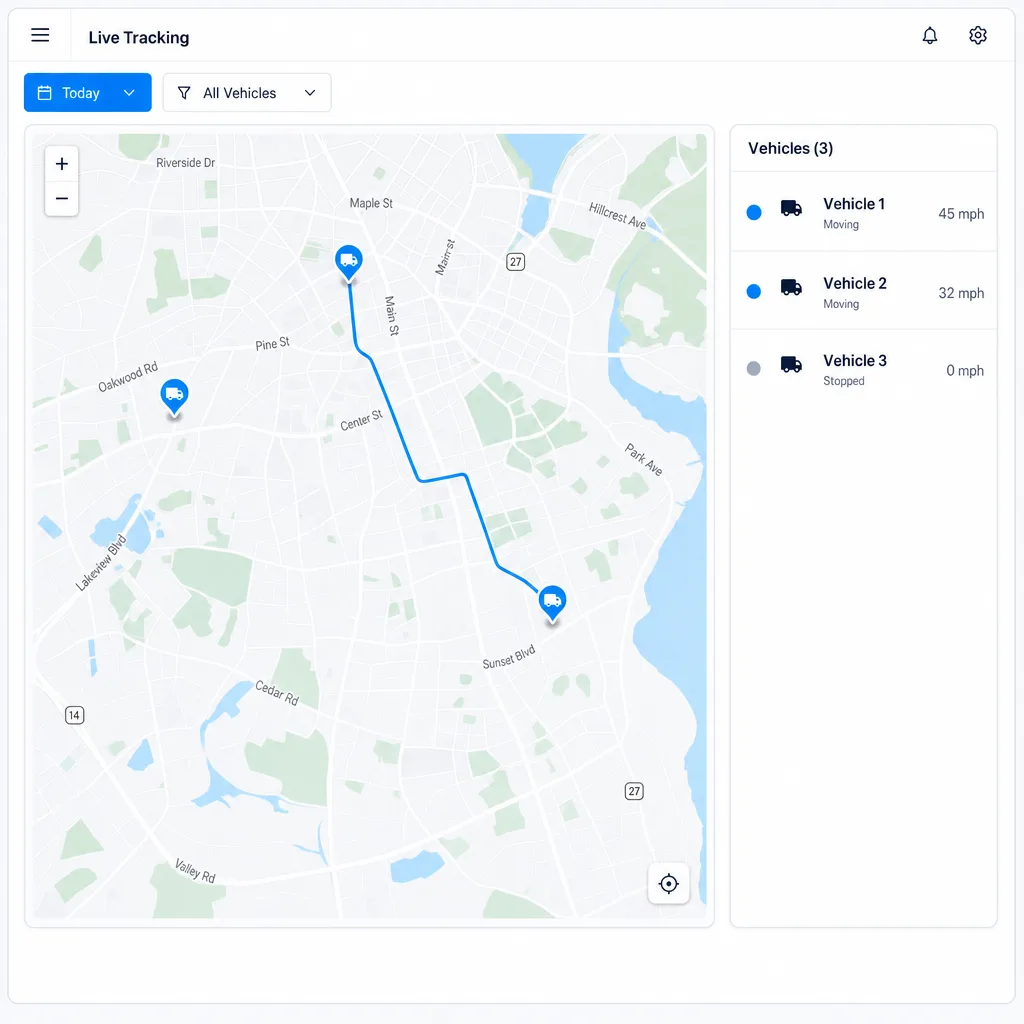
Web interface
Your logo, color theme, and login background appear on the web version of the service your customers use. Brand controls
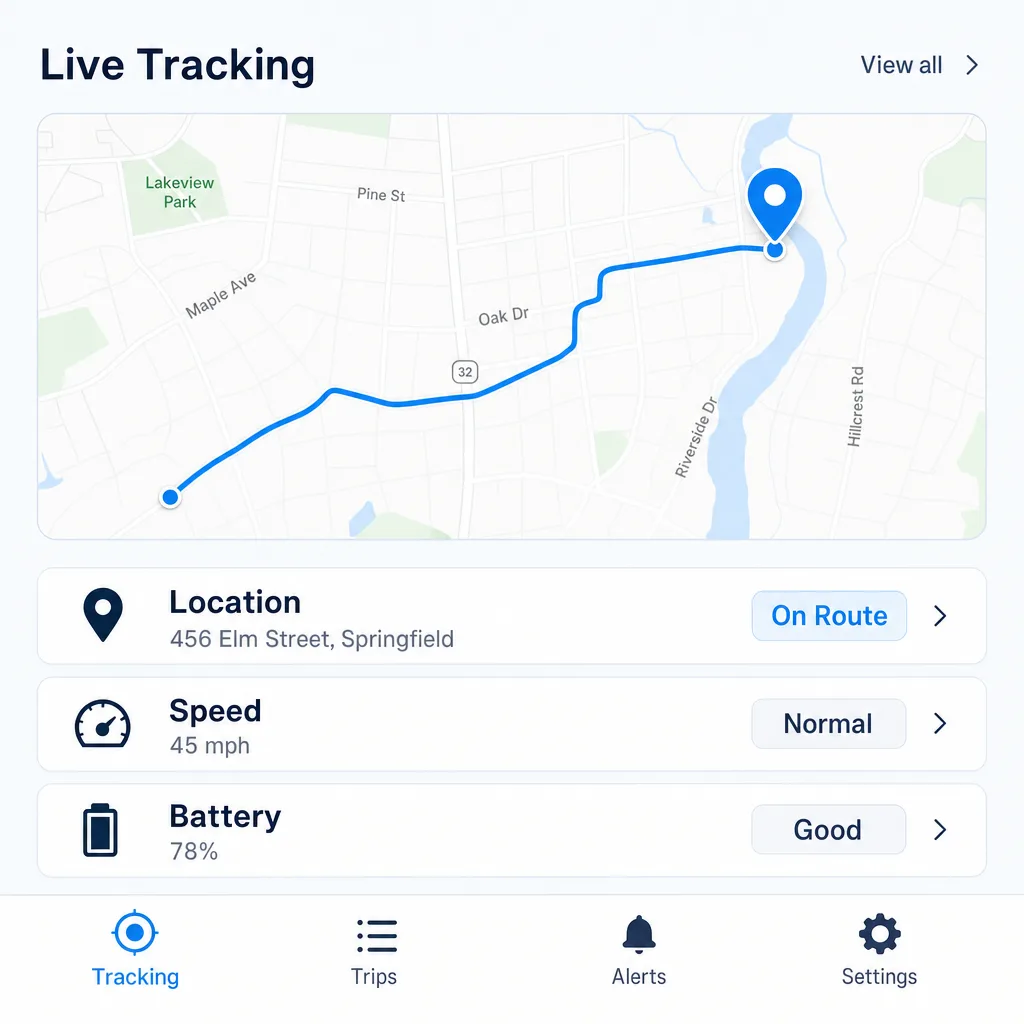
Mobile app
The same brand carries over to the X-GPS mobile app: logo and color theme, no separate development required. Brand controls

Four steps to launch your branded service
Set the brand, connect the service, design the customer journey, then launch and improve it.
- 01
Set up your brand
Logos, login background, favicon, and preset themes for both the web and mobile interface. Brand controls
- 02
Connect your domain and devices
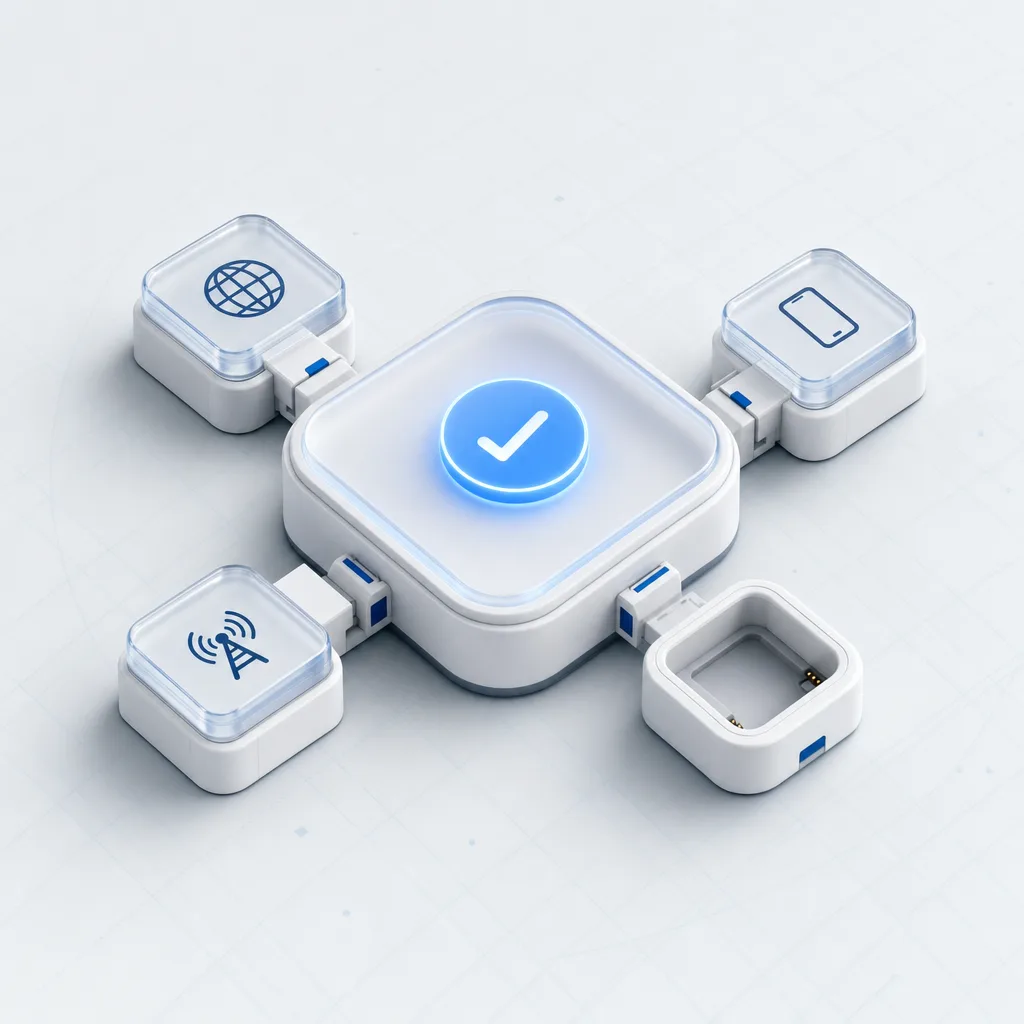
Set up CNAME for the web interface and choose devices from the current catalog for the integrations you need. DomainCertified devices
- 03
Design the customer journey
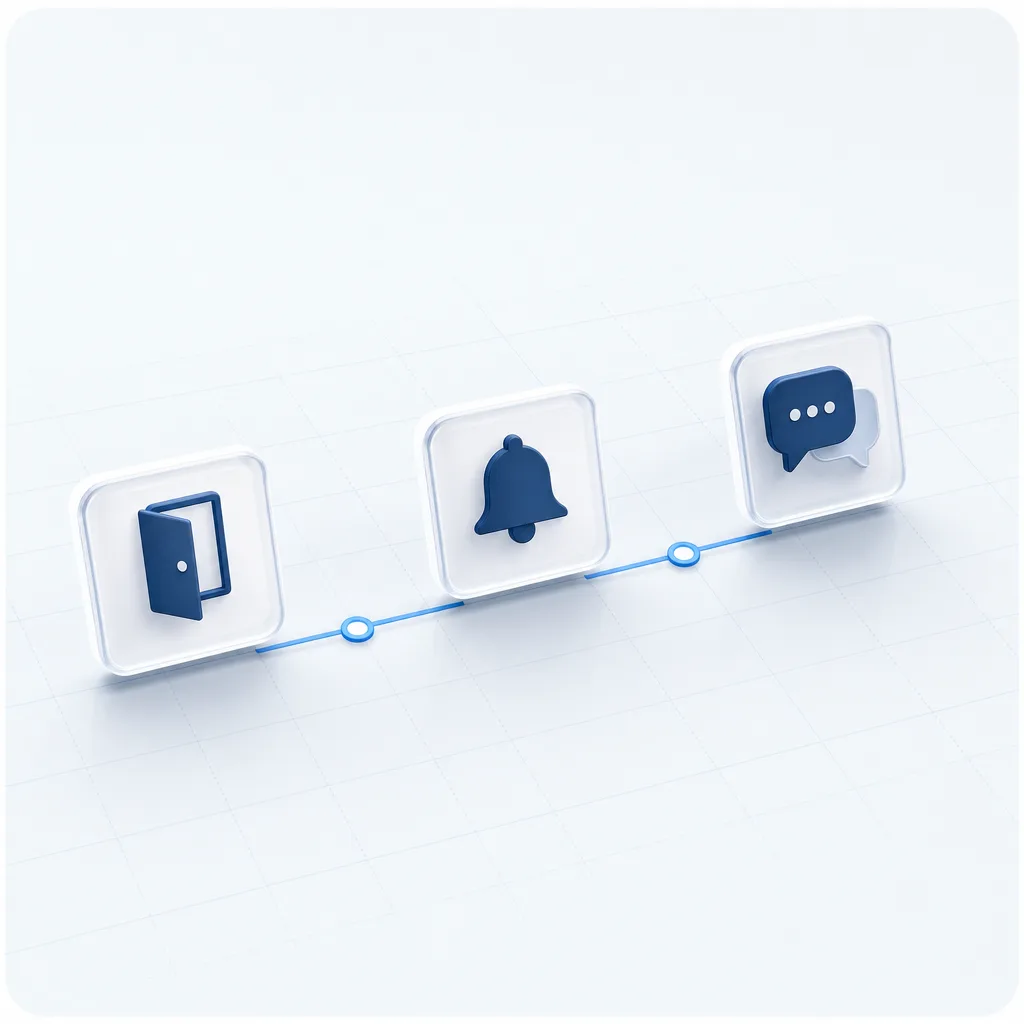
Define user onboarding, notifications, first-line support, and how complex cases get escalated.
- 04
Launch and iterate
After launch, add new integrations and adapt the offer to your market's needs.
Split responsibility between the platform and your service
Navixy provides the platform software and working interfaces; you shape the offer and run the customer service. Infrastructure responsibility depends on the deployment model.
- On managed PaaS, Navixy operates the underlying infrastructure, ships updates, and is responsible for maintaining and securing the platform layer. PaaS
- With On-Premise, your IT team deploys and administers the infrastructure; responsibility for updates, security, uptime, and incident handling is agreed on a project-by-project basis. On-Premise
- You shape the service package, onboard customers, implement integrations, and run first-line support.
- Both sides agree in advance on responsibility for configuration, data access, incidents, and communication with the end customer.
Platform software
Navixy
- Working interfaces
- Software platform
- Product support
Customer service
Partner
- Brand and offer
- Implementation
- First-line support
Agreed rules
One service
- Areas of responsibility
- Data access
- Escalation path
Infrastructure: managed PaaS, or On-Premise administered by your IT team
How to choose between white-label and a custom interface
The working application covers most customer scenarios and remains the primary interface as long as it fits your market's needs. A custom interface makes sense when an industry-specific process needs a distinct user experience and the documentation confirms that the operations and data it requires are available. Headless
- Choose the working interface when its capabilities are enough — the value comes from your brand, your implementation, and your service.
- Design a custom interface when an industry process needs a distinct workflow and your team is ready to own its development and operation.
- Before moving to a custom interface, verify which APIs, data, permissions, and identity methods the workflow actually needs.
- Moving to a custom, API-based interface with Headless Telematics is a separate product and architecture project, not an extra branding setting. Headless
Where does the interface create value?
Compare two approaches
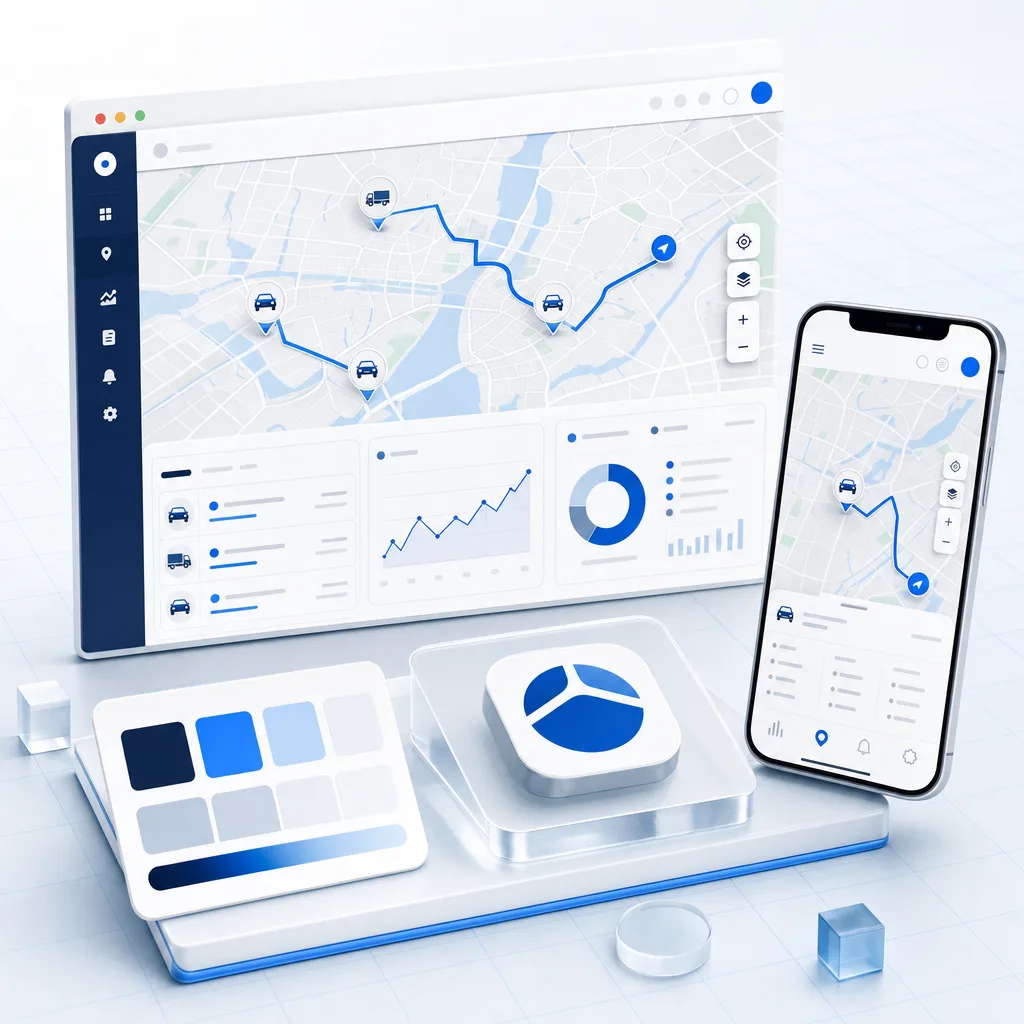
Working application
Interface for your customers
- Working web and mobile applications
- Brand settings
- Your customer service
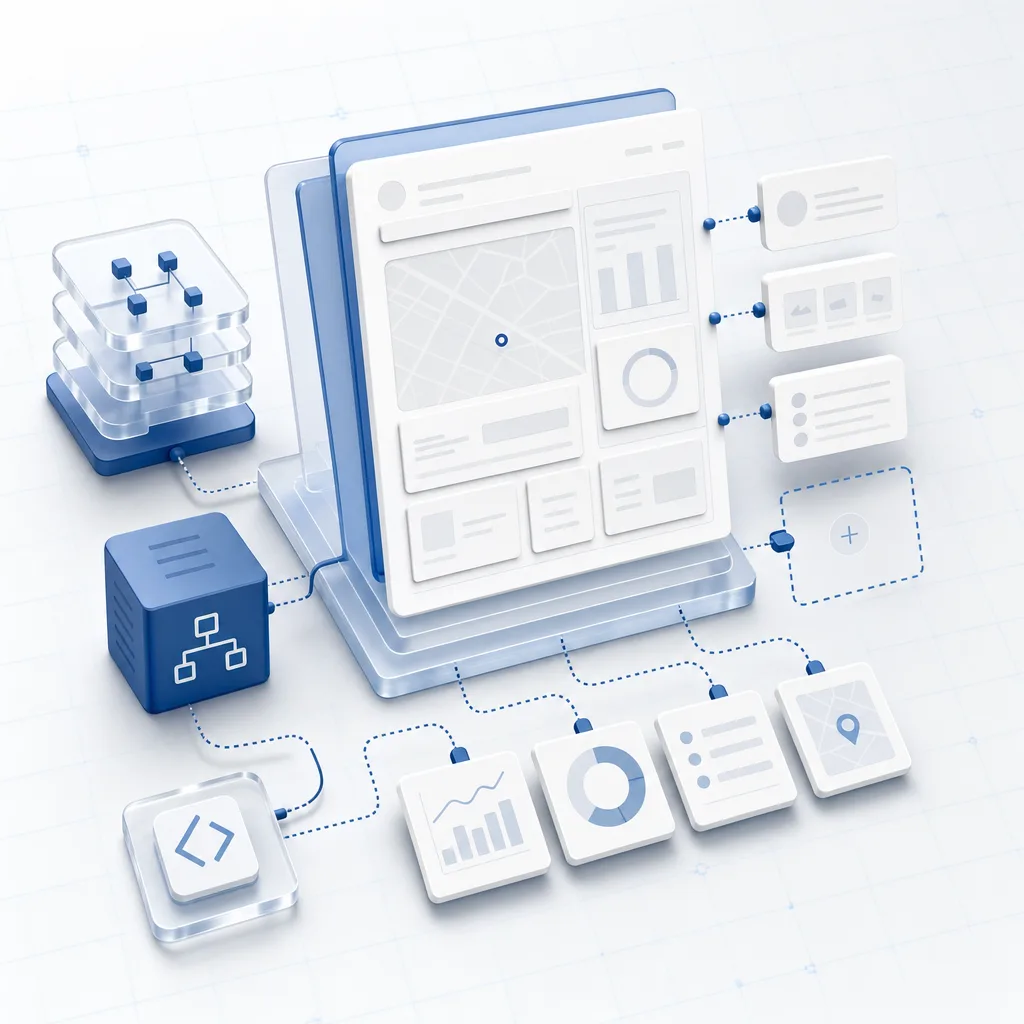
Custom interface
A separate product
- API and data checks
- Your own product team
- Your own lifecycle
White-label telematics FAQ
What is white-label telematics?
What exactly can you brand?
Can you use your own domain and notification gateways?
Will you get the source code or full control of the interface?
Does mobile branding mean a separate app-store listing?
Which devices and integrations can you use in a white-label service?
Launch your telematics service under your own brand
The conversation covers branding, domain, devices, integrations, and the operating model, then turns them into a realistic launch plan for your market.
The call confirms the available settings and the responsibility split for your chosen deployment model.